
If you want to transform the look of your residential or commercial concrete floors, dyeing the concrete and polishing it to a high-gloss finish creates a sophisticated, attractive look that’s also easy to care for. For this project to be successful, it has to be done the right way, and you don’t want to skip steps or take shortcuts.
Join Buy Manufacturers Direct as our experts in floor grinding and polishing explore how to remove old grout from concrete, a task that can often seem daunting but is essential for maintaining the integrity and aesthetics of your surfaces.
Why is Old Grout Removal Important?
Old grout removal is a critical step in maintaining the integrity and appearance of surfaces, whether in your bathroom, kitchen, garage, or any other area of your home or business. Over time, grout can become discolored, cracked, or simply worn out due to regular wear and tear, exposure to moisture, and the accumulation of dirt and grime.
Here are several reasons why learning how to remove old grout from concrete surfaces is important:
- Aesthetic Improvement: By removing old grout and replacing it, you can significantly improve the appearance of your concrete surfaces, making them look cleaner and more attractive.
- Prevents Water Damage: Over time, as grout deteriorates, it can allow moisture to penetrate concrete surfaces, leading to potential water damage, mold growth, and structural issues.
- Boosts Property Value: If you’re considering selling your property, the condition of your surfaces can significantly impact its value. By keeping concrete surfaces in good condition, you can make your property more attractive to potential buyers and potentially increase its value.
How to Remove Old Grout
Removing old grout from concrete surfaces can be a meticulous process, requiring the right tools and techniques to avoid damaging the concrete. Here’s a detailed step-by-step guide for how to remove old grout without harming the concrete surface.
Step 1: Gather the Necessary Tools and Safety Equipment
To effectively remove old grout from a concrete surface, you will need the following tools and safety equipment:
- Safety goggles
- Dust mask
- Heavy-duty gloves
- Chisel or scraper
- Hammer or mallet
- Floor scraper and/or floor grinder
- Vacuum cleaner or shop vac
- Broom and dustpan
Step 2: Prepare the Work Area
Before starting the grout removal process, prepare the work area by clearing any objects from the surface. Cover nearby surfaces and walls with protective material to prevent debris from spreading. Ventilate the area to minimize the accumulation of dust and fumes.
Step 3: Remove Large Chunks of Grout
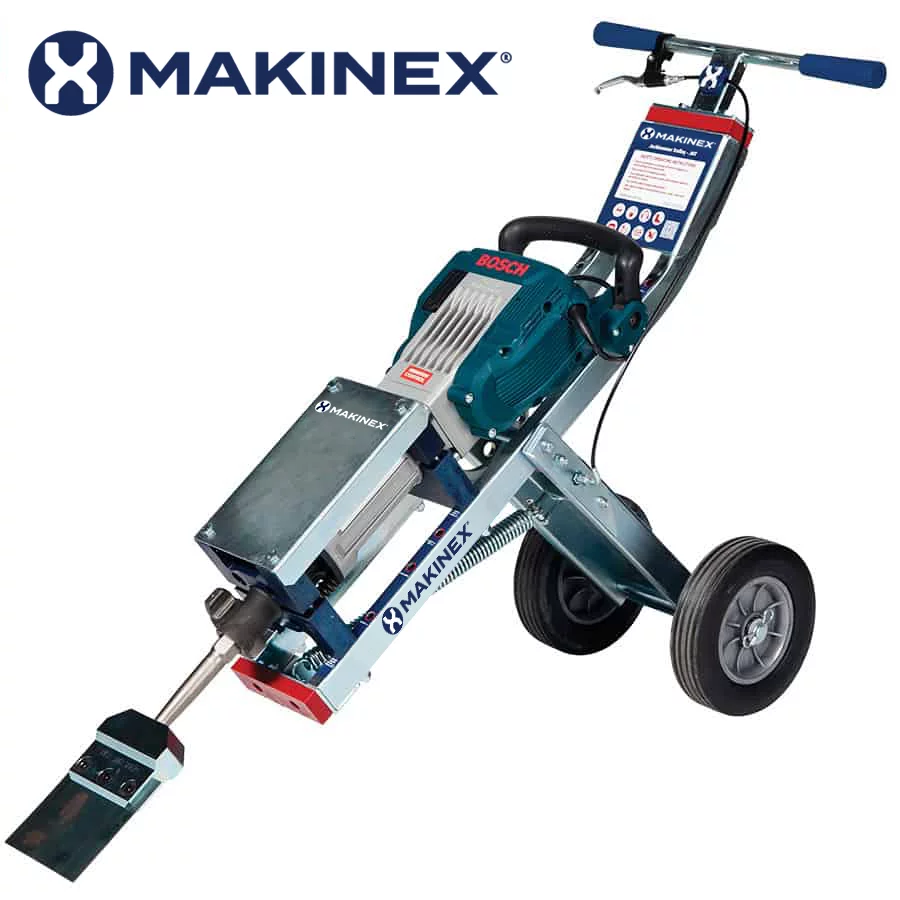
Using a chisel, scraper, or jackhammer, like the Makinex Jackhammer Trolley, and a hammer or mallet, carefully chip away at the old grout to remove any large chunks or thick layers. Work methodically across the surface to avoid damaging the concrete. Collect the removed grout debris and dispose of it properly.
Step 4: Grinding the Grout
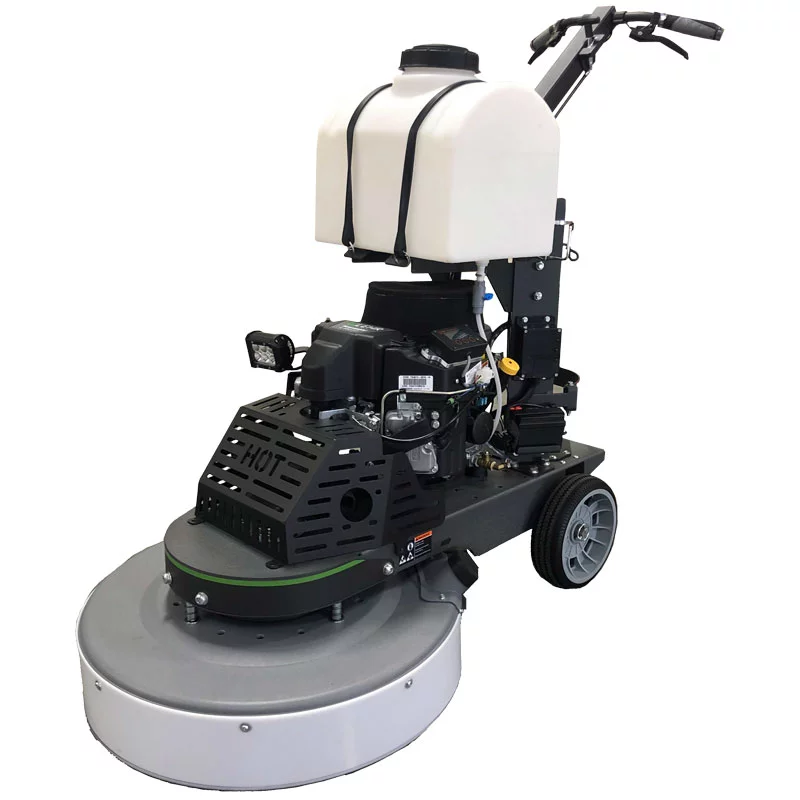
For stubborn grout firmly attached to the concrete surface, it is best to use a floor grinder. Some excellent floor grinders sold at Buy Manufacturers Direct that will help you with how to remove old grout are:
- The handheld Metabo 7” Concrete Grinder
- The motorized Airtec BS-825-EL Planetary Floor Grinder
- The compact Prep/Master Jr. Electric Floor Grinding Machine
- The heavy-duty TX7 Planetary Grinder & Stripper Floor Machine
Slowly and evenly grind the grout until it is flush with the concrete surface. Take breaks periodically to prevent the grinder from overheating.
In this video demonstration, you’ll see that our team was looking for a lighter profile, just to get the existing grout off, so we did a wet grind and used concrete tooling with 100 grit first, then followed it with 200 grit. This video is a great resource for learning how to remove old grout from concrete.
Step 5: Scrape and Vacuum the Surface

After grinding the grout, use a floor scraper to remove any remaining residue or loose particles from the surface. Some of our favorite floor scrapers are:
- The lightweight Eddy Floor Scraper
- The easy to maneuver 12-Inch Roll-Stripper RO-3 Scraper
- The energy efficient Cyclone SS Ride-On Floor Scraper
- The battery powered Taylor Tools Bronco Hybrid Ride-on Floor Stripper
Collect the debris with a vacuum cleaner or shop vac, paying attention to corners, edges, and hard-to-reach areas.
Step 6: Clean and Prepare the Surface
To clean up, we used a wet vac to get the slurry, but you can also use a slurry solidifier that soaks up water and makes it easy to dispose of. Then, wipe the surface with a damp cloth or mop to remove any remaining residue and allow it to dry completely before proceeding with further work.
Step 7: Add Densifier to Your Concrete
The next step in how to remove old grout from concrete is to make the slab stronger so it will last longer and be more resistant to cracks, chips, and other damage. This is why we use a concrete densifier—it reacts with the calcium silicate hydrate in the concrete, filling the pores and spaces, and increases the surface area by up to 40 percent.
This step is easy to do and is a cost effective way to improve the quality of your concrete. We use two coats for the best results.
Step 8: Fine Grinding Concrete
With a hard, clean surface, you’ll see in the video above that we grind the concrete again. This time, we do another wet grind with a resin bond 200 and 400 grit concrete tooling to start honing the slab to a sheen. We follow this with the wet vac to clean the surface, and follow it with an 800 grit diamond.
Step 9: Dye the Concrete
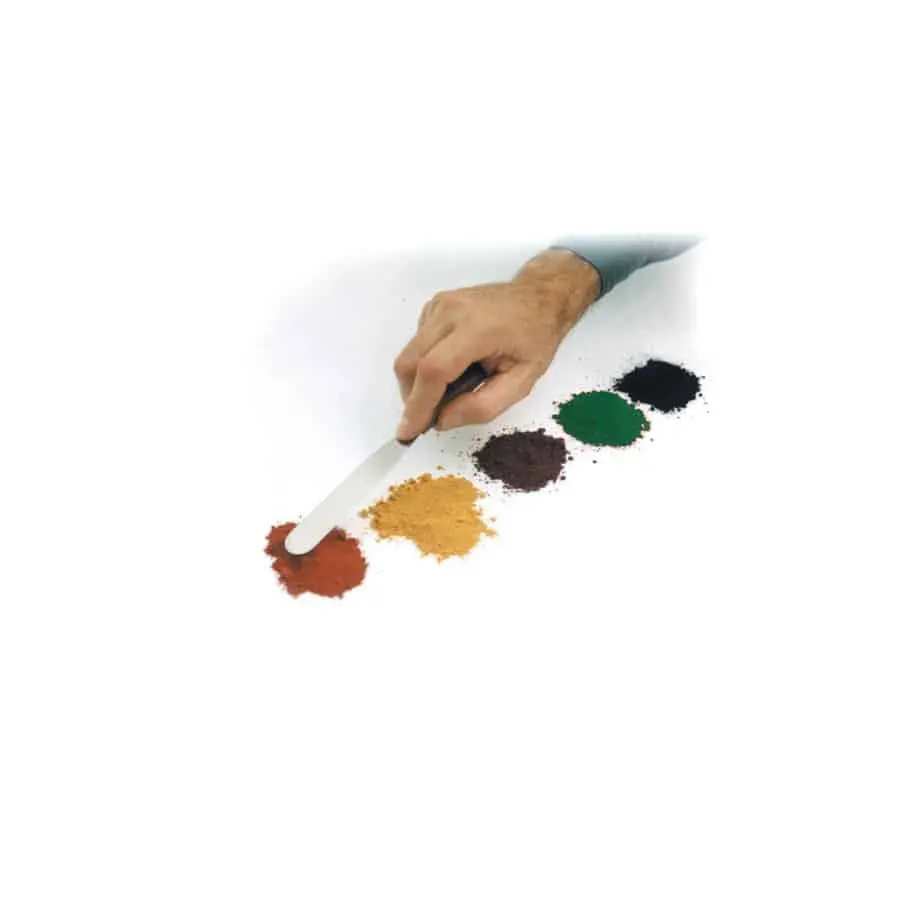
If you plan to dye the concrete surface, it’s important to have a clean surface free of any dust and debris. We use a disposable microfiber dust mop head to get all the dust off the floor, and you can also use a cleaning agent to mop the floor first.
Next, we mix up our Ameripolish Dye and Colorsolve concrete dye, spraying it evenly on our concrete and rubbing it in and creating an even coat with a fresh microfiber mop pad. After applying two coats, we hand scrub the floor. It’s an intensive task, especially in larger spaces, but it is important to the end result. Then, we wet vac the water off the floor and let it dry.
Step 10: Polish the Concrete to a High Gloss Shine
Because our goal is to get a mirror-like shine on this concrete, we get the floor grinder back out and, using 1800 grit resin-bond diamonds, do a dry grind. We follow that with a 3500 grit resin-bond diamond for a highly polished, reflective surface. The end result is a high degree of shine that looks amazing and can last for a long period of time!
Contact Us for Your Floor Polishing Equipment
If you want to transform the look of a concrete floor, we have the equipment and tools to help you do it the right way. From high-powered floor grinders to concrete dyes and mop pads, Buy Manufacturers Direct is your source of surface preparation equipment and tools.
To learn more about our brands and find out what options are right for you, contact our team at (815) 278-1308 or fill out our contact form to get started.
Contact Form
We would love to hear from you! Please fill out this form and we will get back to you shortly.