
Concrete spall, although a common issue, can be a significant concern for the structural integrity and aesthetics of any concrete surface. Whether it’s a driveway, sidewalk, or industrial flooring, spalling can compromise the overall strength and visual appeal of the concrete. To address this problem effectively, proper spall preparation, filling, and finishing techniques are essential.
At Buy Manufacturer’s Direct, our concrete spalling experts are helping you explore the world of concrete spall repair, guiding you through the steps of blasting, pouring, and grinding to achieve a successful restoration. By understanding the causes of spalling, the importance of thorough preparation, and the right methods for filling and finishing, you’ll be equipped with the knowledge to tackle concrete spall projects head-on.
Understanding Concrete Spall
Concrete spall refers to the chipping, cracking, or flaking of the concrete surface, resulting in the loss of material and the exposure of the underlying aggregate. This damage can occur due to various factors, including:
- Freeze-thaw cycles: Repeated cycles of freezing and thawing can cause water to expand and contract within the concrete, leading to internal pressure and subsequent spalling.
- Chemical exposure: Exposure to harsh chemicals, such as de-icing salts, acids, or alkalis, can deteriorate the concrete matrix, causing it to weaken and spall over time.
- Poor installation: Inadequate mixing, improper curing, or insufficient compaction during the initial concrete placement can result in weak spots and increased vulnerability to spalling.
- Heavy impacts: Heavy objects or machinery dropping or colliding with the concrete surface can cause immediate damage, resulting in spalling.
By understanding the causes of concrete spall, it becomes possible to address the underlying issues and prevent further deterioration.
Common Areas Prone to Spalling
Certain areas are more susceptible to concrete spalls due to their exposure to environmental factors or high traffic.
Some common areas prone to spalling include:
- Driveways and sidewalks: Concrete driveways and sidewalks are subjected to heavy loads, foot traffic, and exposure to freeze-thaw cycles, making them susceptible to spalling.
- Parking garages and ramps: The constant movement of vehicles and exposure to de-icing salts can contribute to spalling in these areas.
- Industrial floors: Factories, warehouses, and other industrial settings often have concrete floors that endure heavy machinery, chemical exposure, and impact, making them prone to spalling.
- Exterior walls and facades: Moisture intrusion, weathering, and exposure to pollutants can lead to spalling in concrete walls and facades.
Impact of Spalling on Structural Integrity and Aesthetics
Spalling can have significant consequences on both the structural integrity and aesthetic appeal of concrete surfaces.
The consequences include:
- Reduced strength
- Increased deterioration
- Safety risks
- Unappealing aesthetics
- Negative impact on property value
Stage 1: Spall Preparation
The first stage in spall preparation is to conduct a thorough inspection and assessment of the spalled area. This involves closely examining the extent of the damage, identifying any underlying causes, and determining the appropriate repair approach. Understanding the size, depth, and location of the spalled concrete will help in selecting the right materials and techniques for effective spall repair.
Tools and Equipment for Spall Preparation
The spall surface preparation stage requires specific tools and equipment to ensure proper surface preparation, including:
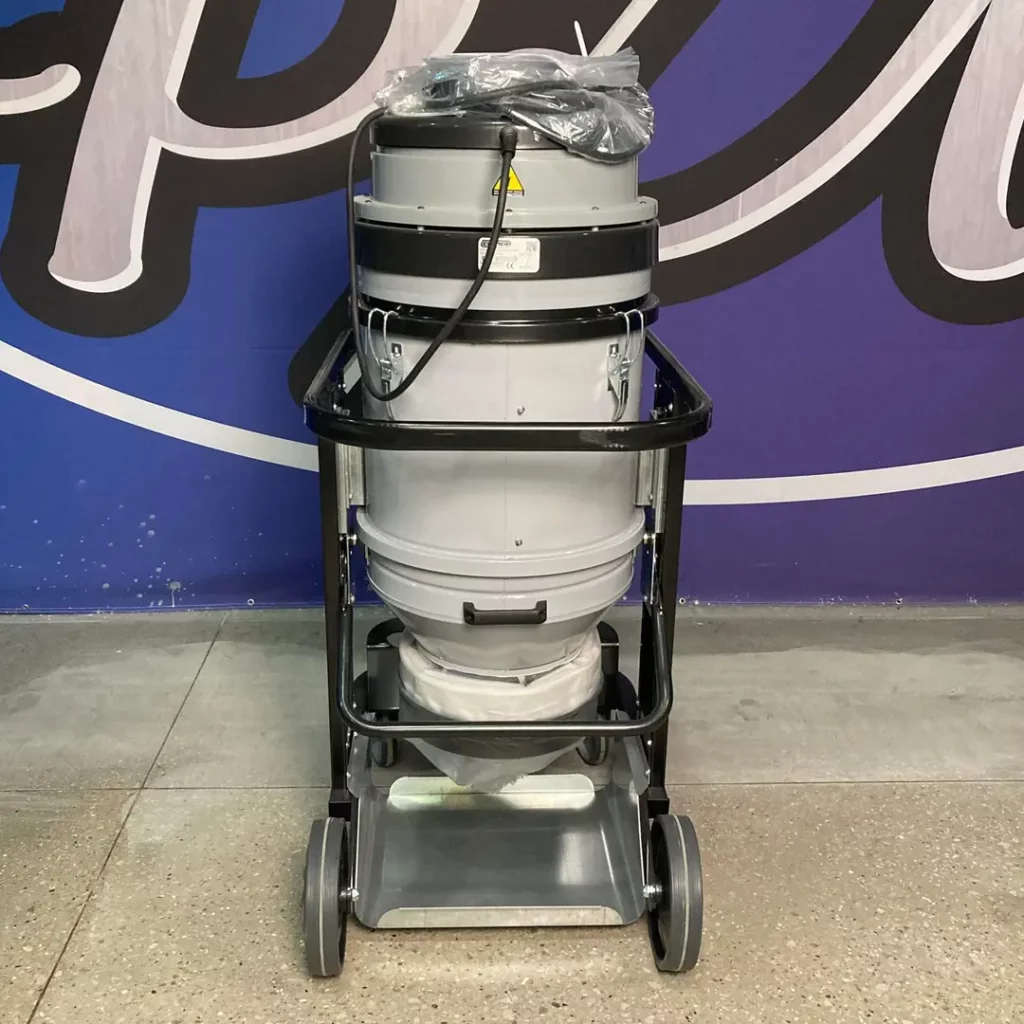
- Brooms, brushes, and dust collectors: Like with the Coynco 3M dust collector, these are used for sweeping and cleaning the spalled surface area to remove any loose debris, dust, and dirt.
- Chisels and hammers: These tools are useful for testing the concrete and finding hollow-sounding spots that indicate weakness and then removing loose or unsound concrete.
- Shot blaster or sandblaster: Depending on the size of the spalled area and the severity of the damage, abrasive blasting equipment such as sandblasters or shot blasters may be required to remove damaged concrete.
Steps for Blasting the Spalled Concrete Surface
Proper surface preparation is vital for a successful concrete spall repair. It ensures optimal adhesion of the repair material to the existing concrete, promotes long-term durability and helps prevent future spalling. By thoroughly cleaning the surface and removing loose or unsound concrete, the repaired area becomes stronger and more resistant to further damage. Let’s review the steps contractors should take when blasting spalled concrete surfaces.
Step 1: Surface Cleaning and Removal of Loose Debris
Before blasting, it is essential to clean the spalled surface thoroughly. Sweep or pressure wash the area to remove loose debris, dust, and contaminants. This ensures a clean and suitable substrate for the repair material.
Step 2: Application of Appropriate Abrasive Material
Select the appropriate abrasive material based on the condition of the concrete and the desired outcome. Common options include sand, crushed glass, or steel shot. The chosen abrasive material should have the right size and hardness to effectively remove damaged concrete without causing additional harm.
Step 3: Blasting Techniques
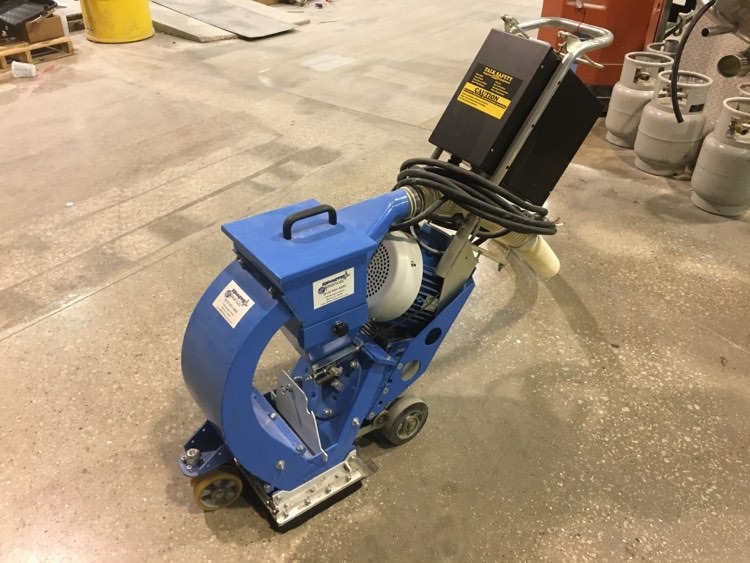
When using abrasive blasting equipment, such as an IMPACTS America Shot Blaster, it is crucial to follow the proper techniques:
- Maintain a consistent distance from the surface to achieve uniform results.
- Adjust the pressure and angle of the blasting equipment as needed.
- Pay attention to potential hazards and ensure proper containment of the abrasive material and waste.
- Take precautions to prevent damage to nearby structures, vegetation, or sensitive areas.
Stage 2: Spall Fill
When it comes to spall fill, selecting the right repair materials is crucial for achieving a strong and long-lasting result.
One option for concrete spall fill repair is to choose an epoxy-based filler, which offers excellent strength, durability, and bonding properties. These spall fillers consist of a two-part system that requires mixing a resin and a hardener.
Another option for filling concrete spalls is polymer-modified cementitious fillers, which combine cement, fine aggregates, and polymers to create a strong and flexible repair material. They offer good adhesion and durability, making them suitable for a wide range of spall repair applications.
Preparing the Repair Area Prior to Spall Fill
Before applying the filler compound, proper preparation of the concrete crack repair area is essential to ensure a successful bond and optimal performance, this includes:
- Thoroughly cleaning the spalled area to remove any debris, dust, or loose particles.
- Ensuring that the surface is completely dry before proceeding with the repair to promote proper adhesion.
- Applying a bonding agent to the prepared surface enhances the adhesion between the existing concrete and the filler material.
Steps to Complete a Spall Fill
To achieve a successful spall repair, it is important to follow a systematic approach when filling the spalled area.
Step 1: Mixing the Filler Material
Prepare the filler material according to the manufacturer’s instructions. This may involve mixing different components, such as resin and hardener for epoxy-based fillers, like Smith’s Poly-FLEX, or adding water to polymer-modified cementitious fillers. Ensure proper mixing ratios and achieve a uniform consistency.
Step 2: Application Techniques
Apply the filler material to the prepared spalled area using appropriate techniques. Depending on the size and depth of the spall, a trowel, putty knife, or other suitable tools can be used to evenly spread the filler and ensure it fills the void completely.
Step 3: Curing and Drying
Allow the filler material to cure and dry according to the manufacturer’s instructions. This typically involves protecting the repaired area from traffic or other disturbances during the curing process. Adequate curing time ensures that the filler achieves its maximum strength and durability.
Stage 3: Spall Finish
Once the spalled area has been filled, the next step in the concrete spall repair process is to smooth and level the filled area. A spall finish helps to ensure a seamless transition between the repaired section and the surrounding concrete surface.
Steps for a Smooth, Solid Finish
The grinding, leveling, and smoothing stages are crucial steps in a spall finish. These stages focus on achieving a seamless and aesthetically pleasing result while ensuring structural integrity.
Step 1: Leveling the Surface
The finishing stage of spall finishing involves refining the repaired area and ensuring it blends well with the surrounding concrete surface. The goal is to create a smooth and visually appealing finish. Use a trowel, such as the Bon Tool concrete trowel, or a suitable tool to level the filled area. This ensures that the repaired section is flush with the surrounding concrete, eliminating any unevenness or protrusions.
Step 2: Smoothing the Surface
The smoothing stage further refines the repaired area and ensures a uniform texture and finish.
Inspect the repaired area closely for any remaining imperfections or inconsistencies. Use the float or trowel to address these areas and achieve a more uniform surface.
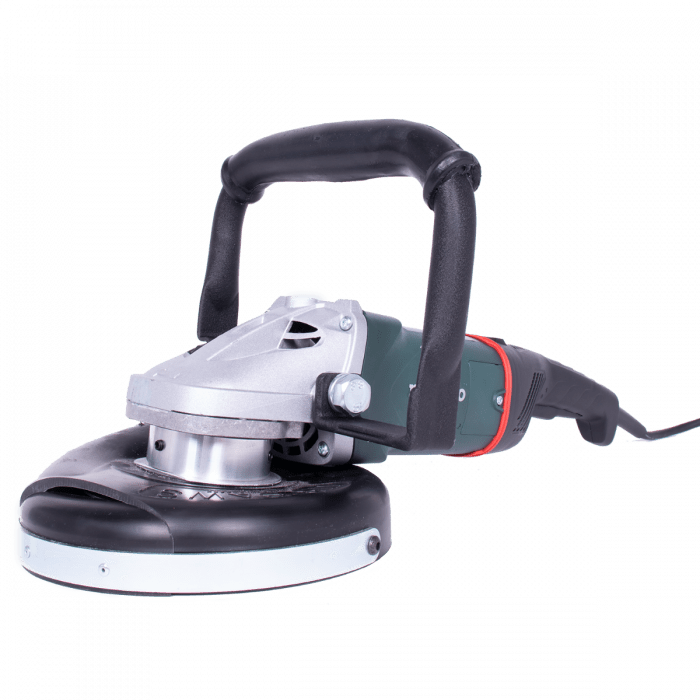
In some cases, power tools like grinders or polishers, such as the 7? Metabo Grinder by U.S. Saws, may be used to further refine the repaired area. These tools equipped with diamond blades or pads can help create a smoother and more polished surface, especially for larger repair areas or when a high level of finish is desired.
Manufacturer’s Direct is Your Source for Concrete spall Materials and Equipment
Are you in need of top-quality concrete spall materials and equipment? Look no further than Manufacturer’s Direct– from spall preparation to filling and finishing, our concrete tooling experts have your needs covered. Whether you’re a contractor, builder, or DIY enthusiast, we have the products and expertise to support your projects.
Contact us today by calling (815) 278-1308 or filling out our contact form below to get started.
Contact Form
We would love to hear from you! Please fill out this form and we will get back to you shortly.