
If you’re dealing with a concrete surface that has been previously cured and sealed, you know how challenging it can be to remove the coating without causing damage. Whether you’re looking to update the appearance of your garage’s concrete floors, your driveway or patio, or any other concrete structure, we have everything you need to get started.
Our cure-n-seal removal experts from Buy Manufacturers Direct are here to guide you through the process of safely and effectively removing cure-n-seal coatings from concrete floors.
Challenges of Cure-n-Seal Removal from Covered Concrete
Removing cure-n-seal coatings from covered concrete floors poses several challenges that need to be addressed carefully.
Adhesion
One of the primary difficulties is the strong adhesion between the coating and the concrete surface. Cure-n-seal coatings are specifically designed to adhere tightly to the concrete, forming a protective barrier.
Faulty Application
If the cure-n-seal coating was applied incorrectly or inconsistently, parts of the concrete floor may remain unprotected or have a thinner layer of coating. Removing the coating in such cases requires careful attention to prevent excessive removal or damage to the areas with less coverage.
Chemical Composition
The chemical composition of the cure-n-seal coating often contains polymers, resins, or acrylics that are resistant to traditional cleaning methods or solvents. As a result, ordinary cleaning agents may prove ineffective, necessitating the use of specialized tools or techniques for successful cure-n-seal removal.
Age and Condition of the Concrete
The age and condition of the concrete surface can affect the cure-n-seal removal process. Over time, the cure-n-seal coating may deteriorate or become more stubborn, making it even harder to remove. In cases where the concrete has cracks, chips, or other damage, removing the coating becomes more complex as it can get trapped within those imperfections.
Safety Considerations
Some coatings may contain hazardous substances or emit strong fumes during the removal process. It is crucial to follow proper safety procedures, including wearing protective gear, working in well-ventilated areas, and using appropriate tools and methods to minimize any potential risks.
Step-by-Step Guide to Cure-n-Seal Removal
If you’re faced with the task of cure-n-seal removal from a concrete surface, you know it can be a daunting challenge. From concrete surface preparation to selecting the right tools and executing the best removal technique, we are sharing the process perfected by our expert coating contractor so you can reclaim your concrete surface with confidence and precision.
??Step 1: Evaluate the Condition of the Concrete
Before diving into the cure-n-seal removal process, carefully assess the condition of the concrete and the coating. Look for any cracks, chips, or areas of uneven coverage. This evaluation will help determine the appropriate removal technique and necessary precautions.
Step 2: Gather the Right Tools and Equipment
To successfully remove the concrete seals and coating agents, you’ll need the proper tools and equipment. This may include a pressure washer, chemical strippers, scrapers, brushes, protective gear (such as gloves and goggles), and a broom or vacuum for cleanup.
Our coating contractor demonstrates cure-n-seal removal with the following types of products:
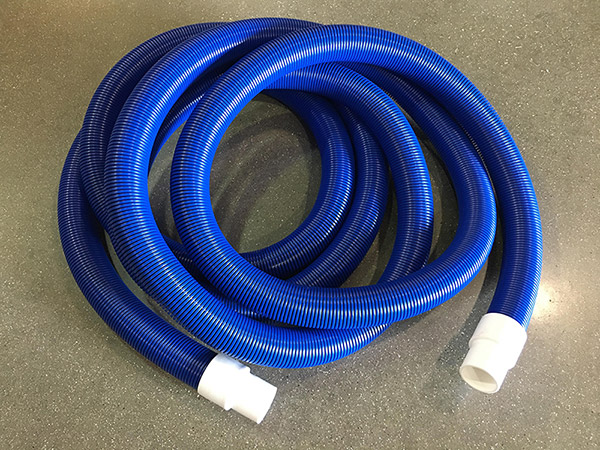
- 2″ dust collector hose
- Coynco 3003AR dust collector
- High-quality floor grinding machine
- Water spraying tool
- Diamond polishing system
Step 3: Prepare the Work Area
Clear the surrounding area of any furniture, debris, or obstacles. Cover nearby plants, walls, or surfaces that you want to protect from overspray or potential damage during the cure-n-seal removal process.
Step 4: Add Stripping Agent
Apply the chosen stripping agent or chemical to the cure-n-seal coating according to the manufacturer’s instructions.
Step 5: Add Silica Sand
As demonstrated by our concrete coating contractor, we suggest using silica sand to enhance the effectiveness of stripping the cure-n-seal covering and aid in the removal process. Silica sand provides an abrasive texture that helps to loosen the coating.
Lightly sprinkle the silica sand over the surface. To determine the appropriate amount of silica sand to use, consider the coverage area of your concrete surface. As a general guideline, a ratio of 50 pounds of silica sand for every 1,000 square feet is recommended. Adjust this amount based on the size of your project.
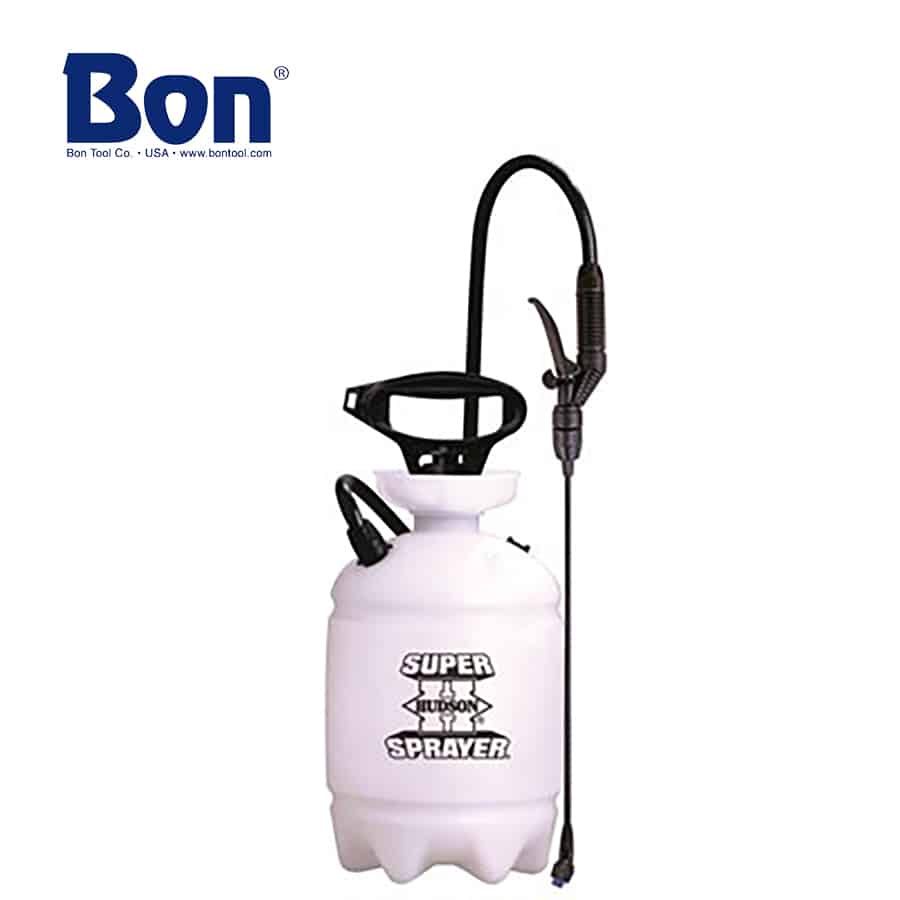
Step 6: Spray with Water Mist
In the process of cure-n-seal coating removal, fill a pump-up sprayer with water. This type of sprayer allows for easy application and control of the water mist. Once the stripping agent has been applied and the silica sand has been added to the surface, lightly mist the area with water using the pump-up sprayer. Aim for a fine mist rather than a heavy spray.
The water mist serves to add some weight to the silica sand, helping it adhere to the surface more effectively. This ensures that the sand stays in place and maximizes its abrasive action on the cure-n-seal coating. When the silica sand is combined with water, it creates a slurry-like substance on the surface. This slurry acts as a lubricant, making the diamond cutters or abrasive grinding tools more effective in removing the coating.
Step #7: Proceed to Diamond Grinding
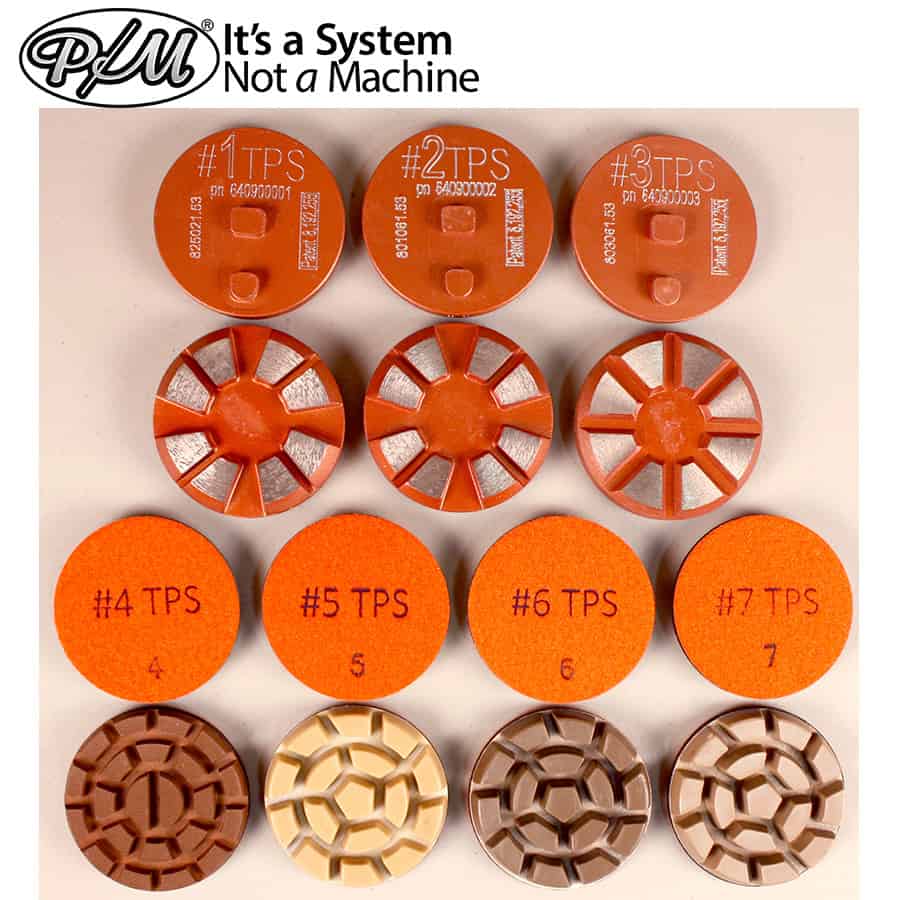
After completing the previous steps of concrete surface preparation, the next step in the cure-n-seal removal process is to proceed with diamond grinding. Grinding with diamond cutting tools by Terrazzo is an effective method to further remove the remaining cure-n-seal coating and achieve a smoother, more even surface.
If you are using a handheld grinder on your concrete floors, adjust the depth of the grinding discs or pads according to the manufacturer’s instructions. For larger surface concrete floors, you may use a walk-behind grinder, which can cover a greater surface area efficiently.
Begin the diamond grinding process by holding the diamond tooling equipment at a slight angle and applying even pressure to the concrete surface. Move the grinder in a back-and-forth or circular motions, covering the entire area where the cure-n-seal coating remains.
Contact Our Concrete Contractors from Buy Manufacturers Direct Today
Are you ready to transform your concrete floors and achieve professional results? Don’t hesitate to reach out to our team of experienced concrete flooring contractors at Buy Manufacturers Direct. With our expertise and top-of-the-line equipment, we can help you with all your concrete restoration and maintenance needs.
Whether you’re looking to remove cure-n-seal coatings, polish concrete floors or other concrete surfaces, or tackle any other concrete-related project, our expert coating contractors have the knowledge and skills to deliver exceptional results.
Take the first step towards revitalizing your concrete floors by calling us today at (815) 278-1308 or filling out our contact form below to get started.