
Why Polishing Concrete Floors is Difficult
Polishing concrete floors can be a difficult-to-master process because concrete conditions vary widely.
In any situation with polishing concrete floors, an existing surface is smoothed by grinding to reduce all inequalities so that the floor can be consistently polished. Similar to stone polishing, the more perfected the surface is to start with, the better the final result will be.
Existing concrete is rarely perfect at the time that polishing is initiated. Corrective action to make the surface ready for polishing, therefore, will be variable based upon a concrete’s existing surface profile. Since many different conditions can be present, this article will specifically address damage by shot blasting.
Preparing a Concrete Floor that has been damaged by Shot Blasting
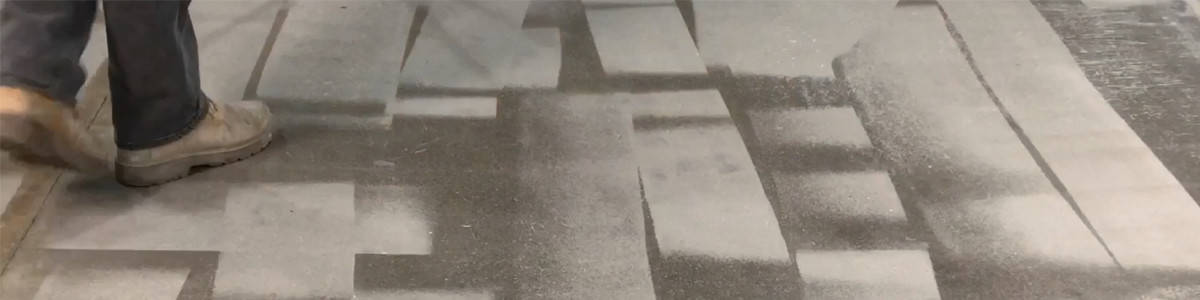
A shot blaster, like sand-blasting, leaves a surface with a sandpaper-type profile. Very coarse and sometimes rutted, the concrete floor must first be smoothed to correct the shot-blasted condition.
Even though the ultimate goal is polishing, special care should be exercised to smooth the floor completely but also not create another condition that needs to be corrected. Exchanging this care for expediency is sometimes done but a project’s net completion time needs to be balanced with the objective of a properly polished floor.
- To start the polishing concrete floors process, a 70-grit metal (run wet) should be used to smooth the roughness until the profile is equal to the diamond tool’s cutting surface. The time this will take depends on the concrete’s hardness, the extent of the damage (how deep), and the machine size and its type. Regardless of the necessary time, if this step is not completed properly, the damage that is left will show through in the polished surface’s final appearance.
- After the slab surface has been flattened the use of a densifier is recommended. The heavy removal of sand and cement paste will likely leave the floor soft and in need of strengthening by a quality densifier. Be prepared that the consumption may be higher than the manufacturer’s coverage recommendation since the concrete will be very open and absorptive. Again, this is what is required if this concrete will exhibit the best possible shine and surface strength polished concrete is known to provide. Any reduction of necessary densifier will affect the polish later and likely lead to disappointment.
- Subsequent steps will usually be a diamond that is called a transitional or hybrid. This is basically a tool that is aggressive enough to remove the metal scratch but leave a nicely honed finish. Some systems rely upon one transition while some rely on two or more. Whatever the number of steps, these are simply considered honing steps and rarely yield a clear shine.
- The final steps, usually done dry, are executed with the resin polishing pads. These are tools that remove the honing scratches and refine the surface to a clear and consistent polish. The reflection should be beautifully clear and scratch-free once this process is complete.
The Results are In on Polishing Concrete Floors!
After the floor polishing is complete, any marks from damage that were not completely removed in the beginning stages of the process will still be present and very obvious. Usually, they’ll be white in contrast to the darkened slab and have a profile that can be felt.
Unfortunately, the appearance of these marks at the end of the process means the whole process must be repeated. This is why proper preparation during the beginning steps of polishing concrete floors is critically necessary to prevent redundant and costly work.