
Coatings removal is never the same from one job to the next, and a contractor has to be prepared for any number of factors that limit a final CSP (concrete surface profile). In the case of diamond grinding, there are many ways to use the machine to do floor preparation but the coating removal tool choice for the job can leave a surface that is a CSP #2, #3 or #4.
The machine itself stays the same but the coating removal tool choice is what determines the machine’s effectiveness and the floor profile. Very similar to a certain grit of sandpaper leaving a certain profile, diamond grinders can leave a surface rough, smooth, or polished.
Coating Removal Tool Case Study:
25-year-old Garage Slab Gets a Facelift
This one was a 25-year-old, 400SF (two-car garage) slab that was previously ground, cleaned, and coated with a double flake broadcast and seal coat. The coating’s only defect was the front 1/3 which got wet 30 minutes after the final seal was applied. An unexpected rain storm damaged the exposed portion and it therefore cured improperly. A floor such as this is meant to be seamless and repairing only the damaged portion was unacceptable — practically and aesthetically.
The objective was to remove the full system down to the base slab and provide a clean, CSP #2 profile. The problem (as is common) was that a standard 30-grit segment intended to leave a #2 CSP would be too labor-intensive to remove the coating. A more aggressive coating removal tool was needed to remove this coating but the concrete couldn’t be rougher than the specified profile.
Choosing the Correct Coating Removal for the Job
The solution was to use a PCD coating removal tool that is well suited to remove a coating by shredding the pliable material. While its design is perfect for removing a material such as an epoxy flake, it’s also known to leave the floor at a CSP#4 as a result of its use. This rough surface would not be suitable for the new coating so a combination process had to be used.
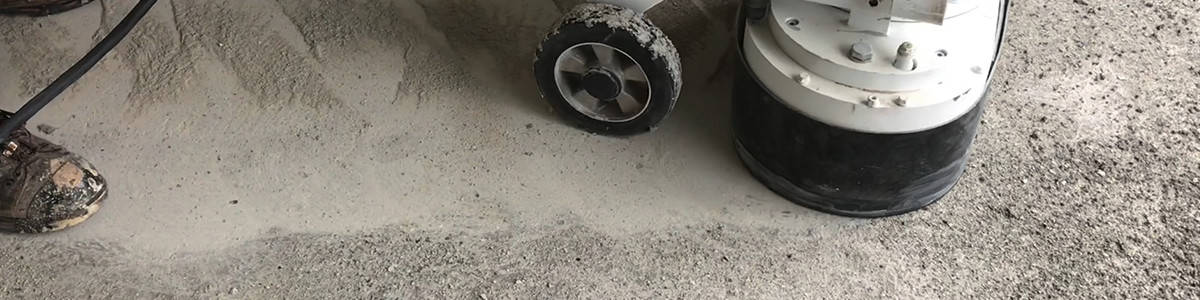
Using the PCD as a primary cut, the objective was to quickly pass over the floor with the goal being 70-80% coating removal. Establishing the exact speed and weight necessary is never an exact science but focusing on the floors cleanliness after the pass was the best way to know the process was adequate. In this specific case, the removal portion took approximately 75 minutes to complete and vacuum using the Prep/Master Jr and 3003AR Dust Collector by STI.
Once the floor was cleaned to the level needed by the PCD, the cleanup and smoothing could be done using a 25/30 segment. This coating removal tool would remove the remaining 20-30% and smooth the surface to the specified CSP #2. This part of the process took approximately 45 minutes to reach the required CSP and clean state. The Prep/Master Jr and 3003AR Dust Collector were, again, the machines used to do the work but the tool was different for the purpose of final cleaning and smoothing. Same machines but different tools.
This project, like all of them, had its own unique requirements but a combination of technologies and discipline made it possible to achieve both the profile and cleanliness required by the new floor coating. Surface prep is never the same from job to job but experience and a good variety of coating removal tools make a grinder essential to any surface prep contractor.